Adding Equipment
Last updated: May 6, 2025
The first step in planning a Voyage is adding equipment. The assumptions from the assets assigned such as speed, fuel burn, and fleeting location are used throughout the calculation, so take care to ensure you attach the correct equipment.
1. Assets
To begin adding assets to a voyage, click on Asset Name and enter the name of your desired asset.

2. Select an Asset
If you already have the desired asset in your fleet, you'll be able to select it from the list. Some high level information on capacity and day rates are shown, along with the asset type. If the asset you need is not listed, you're able to Add a New Asset, directly from this screen.

3. Optionally Add Fleeting Port
If you would like the tool to automatically add On-Hire and Off-Hire legs to your Voyage, you can add the asset's fleeting port here. For assets with live tracking, such as tugs and select barges, you can choose to have this automatically use the asset's current location.

4. Edit Quantity, Day Rate, and Load/Unload as desired
Both the Day Rate and Load/Unload times are pre-populated based on the asset's set assumptions, but you're able to override them here. Load/Unload time is measured in hours per barge, which is dynamically added to the calculation later on.

5. To add another Asset, click the Add Asset button

6. Add Stops for Your Voyage
Once you've selected equipment, you can continue to plan your voyage as normal.

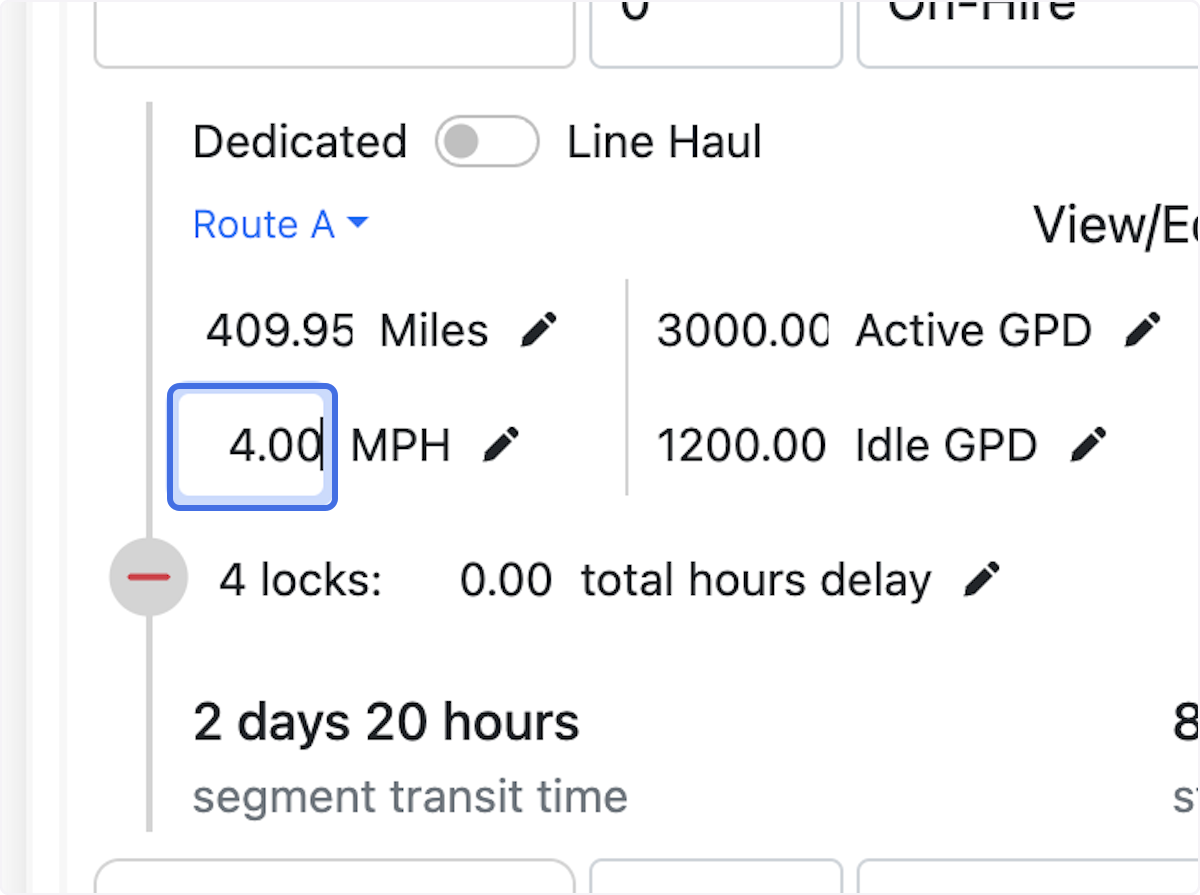
7. Adjust Speeds
BargeOS will pre-populate the speed per segment based on the assumptions configured for the assets selected. However, you're able to override these assumptions per leg, as seen below.
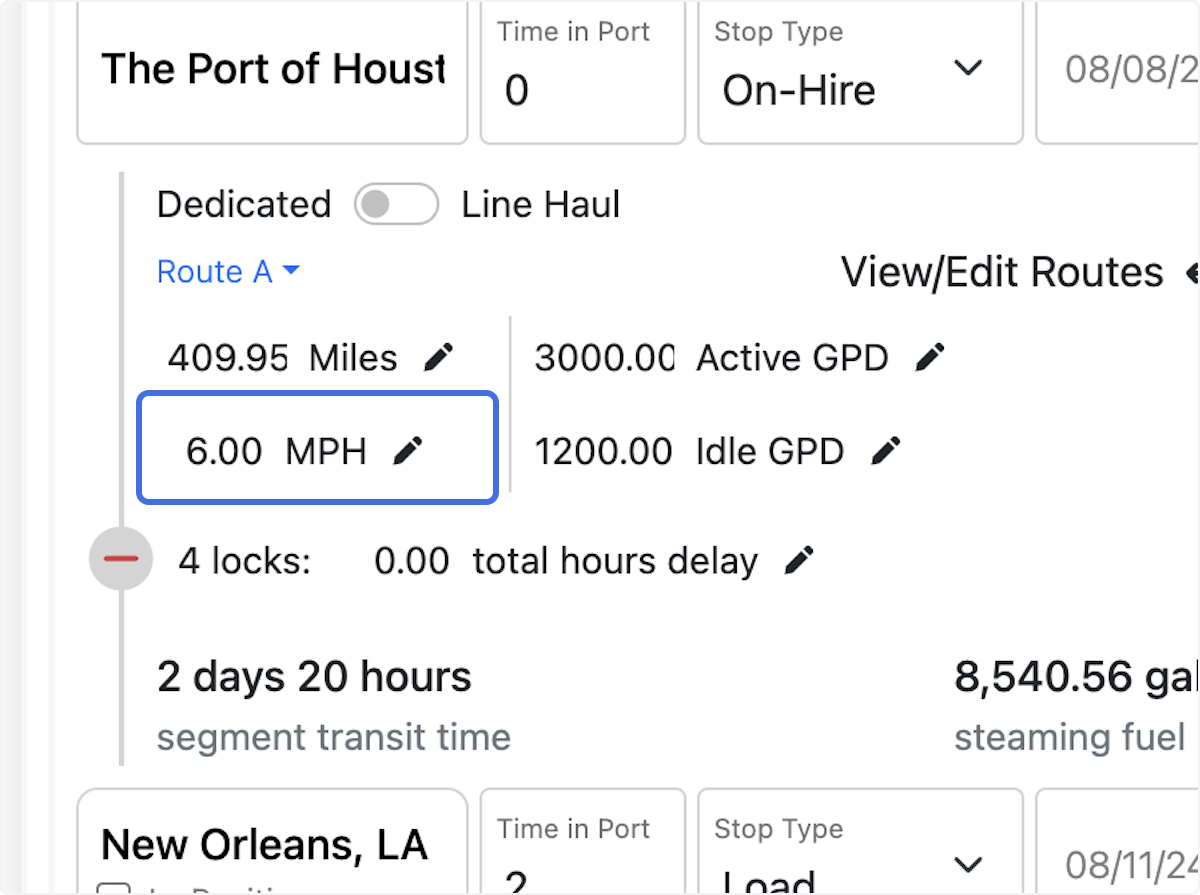
You can choose to show speeds in MPH, or Knots in your User Settings, or can click "Use Nautical Miles" as seen in the screen below.
